Categories
Hair Care & Styling

How to Choose the Right Shampoo for Your Hair Type

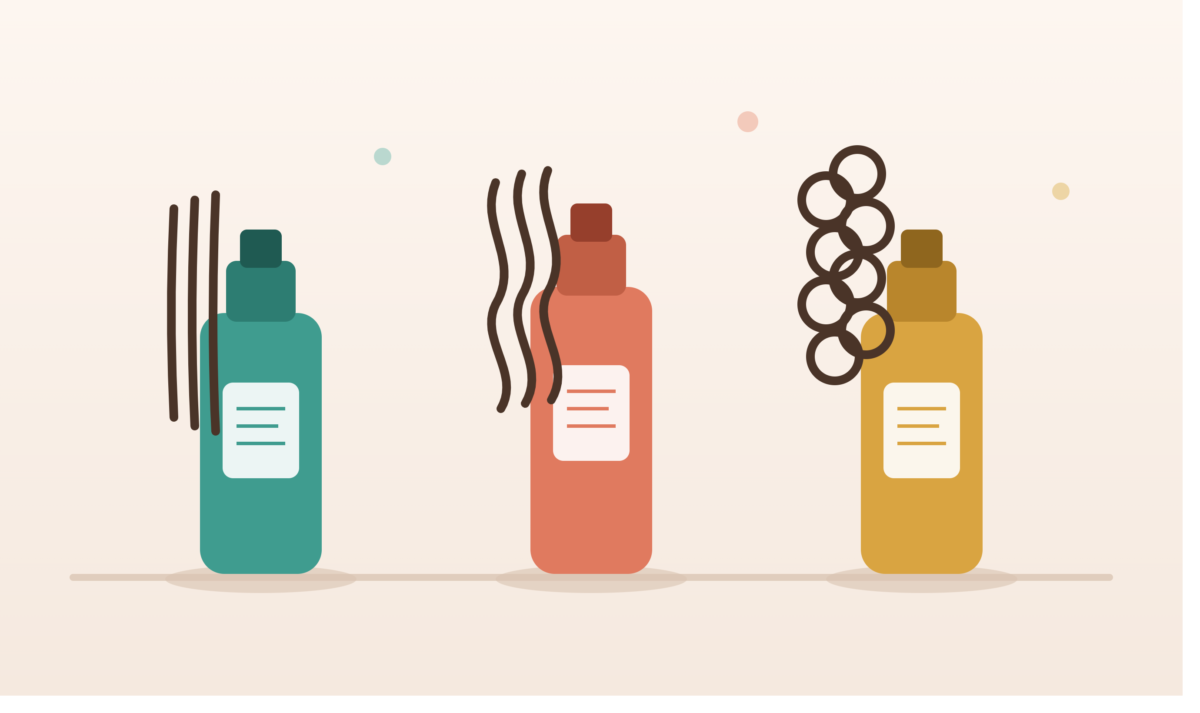
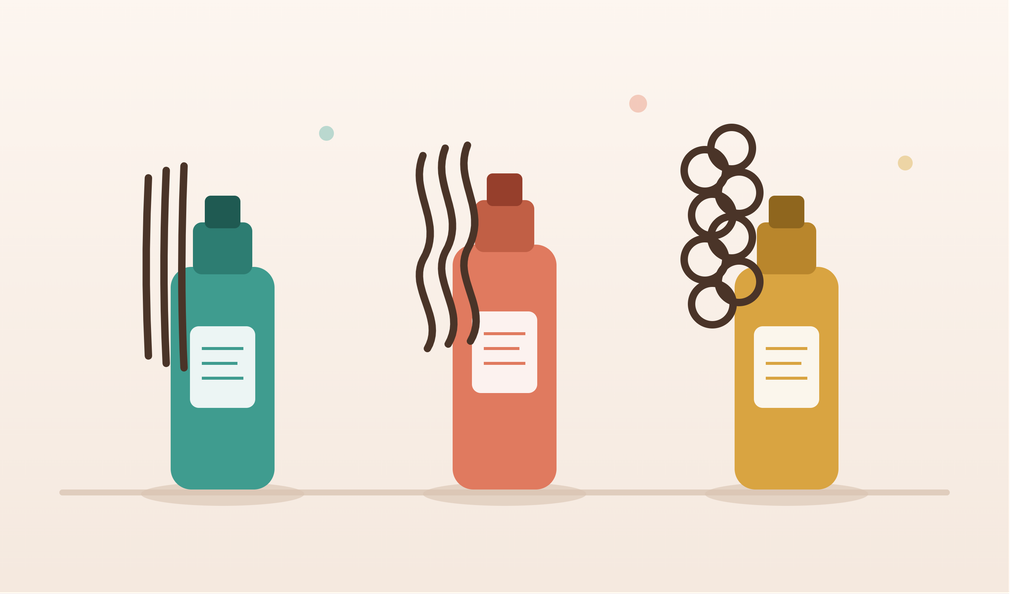
Three shampoo bottles in teal, coral, and amber, each paired with a different hair texture — straight, wavy, and curly — representing how to choose the right shampoo for your hair type

Ever bought a shampoo because the bottle looked nice, or because a friend swore by it, only to end up with limp, greasy hair by day two? You’re not alone. Most of us have a shelf full of half-used bottles that promised salon-perfect hair and delivered… nothing much.

Here’s the thing nobody tells you at the store: there’s no such thing as “the best shampoo.” There’s only the best shampoo for your hair. What works wonders for your friend’s thick, curly hair could leave yours looking flat, dry, or worse — it could even make hair fall and dandruff more stubborn than before.

So let’s fix that. In this guide, I’ll walk you through how to actually figure out your hair type, which ingredients to look for (and which to run from), and how to finally pick a shampoo that works with your hair instead of against it.

Why Your Hair Type Matters More Than the Brand

Here’s something a lot of people don’t realize: shampoo isn’t one-size-fits-all because hair itself isn’t one-size-fits-all. Every strand type reacts differently to cleansing agents, oils, and proteins.

Think about it this way — a shampoo built for fine, oily hair is designed to strip away excess oil fast. Put that same shampoo on curly hair, which is naturally drier, and you’ll end up with frizz and brittleness. Flip it around, and a rich, moisturizing shampoo made for dry hair will feel like a grease bomb on an oily scalp within a day.

So before you even think about brands or price tags, the real starting point is understanding your own hair and scalp.

Step 1: Figure Out Your Hair Type First

This sounds obvious, but most people skip it and just buy whatever’s trending. Take a minute to actually think about which of these sounds like you:

  • Oily hair — your scalp feels greasy by the second day (sometimes even the first), and your hair looks flat no matter how much you style it
  • Dry hair — it feels rough or straw-like, maybe your scalp feels tight after washing
  • Normal hair — you’re one of the lucky ones; oil production is balanced and hair behaves most days
  • Curly or textured hair — naturally prone to dryness and frizz, since your hair’s natural oils have a harder time traveling down those curls. A shampoo for curly hair without sulfates usually works best here
  • Color-treated hair — needs a gentler touch. Look specifically for the best shampoo for color-treated hair so you’re not fading your color down the drain
  • Fine or thin hair — heavy formulas will weigh it down; you want a lightweight shampoo for fine and thin hair that adds volume without the buildup
  • Dandruff-prone or sensitive scalp — this calls for a shampoo for sensitive scalp or a shampoo for dandruff and oily scalp with proper anti-fungal ingredients, not just a “gentle” label

And here’s a detail that trips a lot of people up: you can be a mix. Oily roots with dry, damaged ends is extremely common, especially if you color or heat-style your hair. If that’s you, treat your scalp and your lengths separately — shampoo for the roots, richer treatments for the ends.

Step 2: Match Ingredients to Your Hair Type

Once you know your type, this part gets a lot easier. Here’s a quick cheat sheet:

Hair TypeLook ForAvoid
Oily hairClarifying agents, tea tree oil, salicylic acidHeavy oils, silicones
Dry/frizzy hairGlycerin, shea butter, hyaluronic acid, argan oilSulfates, alcohol-based formulas
Curly hairSulfate-free, moisturizing, co-wash formulasHarsh sulfates, drying alcohols
Color-treated hairSulfate-free, UV protectants, color-lock formulasSulfates, clarifying shampoos (use sparingly)
Fine/thin hairLightweight volumizing formulas, biotinHeavy creams, thick conditioning shampoos
Dandruff-proneZinc pyrithione, ketoconazole, selenium sulfideOverly moisturizing formulas that trap flakes

Keep this table handy next time you’re standing in the shampoo aisle, squinting at ingredient lists.

Step 3: Learn to Actually Read the Label

Shampoo bottles love to throw around buzzwords. Here’s what they actually mean:

  • Sulfate-free — one of the real sulfate-free shampoo benefits is that it cleanses gently without stripping your natural oils, which is why it’s such a good fit for dry, curly, or color-treated hair
  • Paraben-free — simply means it skips certain preservatives some people prefer to avoid
  • pH-balanced — helps your scalp stay healthy and can noticeably cut down on frizz
  • Medicated or anti-dandruff — has active ingredients that treat flaking and itchiness, but don’t use it every single day; alternate with a regular shampoo two to three times a week
  • Anti-hair-fall formulas — if thinning or shedding is a concern, look for a shampoo for hair fall control with biotin, caffeine, or keratin in the ingredient list

A Few Ingredients Worth Avoiding

You don’t need to panic and avoid every sulfate or silicone on the market — plenty of people use them without issue. But if your hair is already dry, color-treated, or damaged, harsh sulfates (SLS/SLES) and high alcohol content will only make things worse. Heavy silicones can also build up over time, especially on fine hair, leaving it looking dull and weighed down. When in doubt, flip the bottle over and actually read the ingredients — not just the marketing on the front.

Step 4: How Often Should You Actually Wash Your Hair?

This is one of the most common questions I hear, and honestly, the answer depends entirely on your hair type:

  • Oily hair — every day or every other day
  • Normal hair — 2 to 3 times a week
  • Dry or curly hair — 1 to 2 times a week, with co-washing in between if needed
  • Color-treated hair — twice a week, and always with cool water to help lock in color

Wash too often and you strip your natural oils, which can actually push your scalp to produce even more oil to compensate. Wash too little and you’re looking at buildup and scalp irritation instead. If you’ve got curly hair and you’re torn on co-wash vs shampoo, co-washing — cleansing with conditioner only — on the days you skip shampoo can help your curls hold onto moisture.

Mistakes People Make All the Time

  1. Choosing a shampoo because it smells nice or the bottle looks pretty — instead of checking the ingredients
  2. Using anti-dandruff shampoo every day — it’s meant to be alternated, not used constantly, or it’ll dry out your scalp
  3. Skipping conditioner because your hair is oily — even oily hair needs conditioner, just keep it on the lengths and away from the roots
  4. Not rinsing properly — leftover shampoo residue is a sneaky cause of dull, buildup-heavy hair
  5. Switching shampoos every few weeks out of impatience — give a new formula at least 2 to 3 weeks before deciding it’s not working

Final Thoughts

Picking the right shampoo really isn’t about chasing trends or buying whatever’s going viral this month. It comes down to knowing your hair, understanding your scalp, and actually reading what’s in the bottle instead of trusting what’s printed on the front. Start with identifying your hair type, match it against the ingredients that work for you, and give it time. Small, consistent choices in your hair care routine tend to beat switching products every other month.

Frequently Asked Questions

Can I use the same shampoo for an oily scalp and dry ends? Yes, and it’s actually pretty common. Focus the shampoo on your scalp where the oil builds up, then use a hydrating conditioner or hair mask on your lengths and ends where the dryness is.

Is sulfate-free shampoo something everyone needs? Not necessarily. But if your hair is color-treated, curly, or already dry and damaged, it’s worth the switch — sulfates tend to strip moisture and fade color faster than you’d like.

How long before I actually see results from a new shampoo? Give it at least 3 to 4 weeks. Your hair growth cycle and scalp need time to adjust, so don’t judge a shampoo after just a couple of washes.

What’s the best shampoo for a sensitive scalp? Stick to fragrance-free, sulfate-free formulas with calming ingredients like aloe vera or oat extract. Skip anything loaded with dyes or strong essential oils.

Can a bad shampoo actually cause hair fall? Not directly, but a harsh or mismatched one can weaken your strands and irritate your scalp, which makes existing shedding look and feel worse. If hair fall is already a concern, a shampoo for hair fall control with biotin or caffeine can genuinely help support scalp health.

Which shampoo ingredients should I avoid completely? Honestly, not every sulfate or silicone deserves the bad reputation they get. But if your hair is dry, colored, or damaged, steer clear of high-sulfate and high-alcohol formulas — they’re the ones most likely to strip moisture you can’t afford to lose.
Categories
Skincare Uncategorized

Common Skincare Mistakes You Should Stop Making

Let’s be honest — most of us didn’t grow up learning proper skincare. We picked things up from ads, older siblings, random internet advice, and a lot of trial and error. So it’s no surprise that even people who are genuinely trying to take care of their skin end up doing things that quietly work against them.

The frustrating part? A lot of these bad skincare habits don’t look like mistakes. They feel productive. Scrubbing harder feels like “deep cleaning.” Skipping sunscreen on a cloudy day feels harmless. Popping a pimple feels satisfying in the moment. But over time, these small habits add up — and they’re often the real reason your skin isn’t cooperating no matter how many products you throw at it.

Here are the most common skincare mistakes people make, why they happen, and what actually helps instead.

1. Over-Exfoliating

Exfoliating feels great. Your skin looks brighter almost instantly, so it’s tempting to do it more often, thinking more must mean better results. In reality, this is one of the most common skincare routine mistakes out there — scrubbing too often, or mixing acids with physical scrubs in the same week, wears down your skin barrier faster than you’d expect.

You’ll usually notice it before you realize what’s causing it: your skin feels tight, looks a little red, or suddenly stings when you apply products that never bothered you before.

A better approach: 1–3 times a week is plenty for most skin types. Pick one method — chemical or physical — and stick with it instead of layering several.

Close-up of face exfoliating scrub, a common skincare mistake when overused

2. Skipping Sunscreen (Or Not Really Applying It)

This is probably the one everyone’s heard a hundred times, and yet it’s still one of the most common daily skincare mistakes. Not because people don’t believe sunscreen works, but because it’s easy to cut corners — a thin layer here, skipping it on a cloudy day there, forgetting to reapply after a few hours.

Here’s the thing: UV rays don’t care whether it’s sunny outside. And most people apply far less sunscreen than they actually need.

A better approach: Use a proper amount — around a full teaspoon for your face — every single day, and reapply if you’re out for a while. It’s genuinely the closest thing to a magic anti-aging step that exists.

Woman applying sunscreen to her face to avoid common skincare mistakes

3. Piling On Too Many Products

There’s a certain appeal to a long, elaborate routine — it feels like you’re doing more for your skin. But stacking too many actives at once (retinol, vitamin C, acids, benzoyl peroxide, all in the same week) usually does the opposite of what you’re hoping for. It’s one of the classic skincare mistakes for beginners, mostly because nobody tells you that less is often more here.

A better approach: Keep it simple — cleanser, one active treatment, moisturizer, sunscreen. If you want to add something new, introduce it slowly and watch how your skin actually responds before adding the next thing.

4. Skipping the Patch Test

New product just arrived, and it’s tempting to use it right away, all over your face. But reactions don’t always show up immediately — sometimes it takes a couple of days for the redness or breakouts to appear, and by then it’s hard to tell which product caused it.

A better approach: Dab a little on your inner arm or jawline and give it 24–48 hours before committing to your whole face.

5. Sleeping With Makeup Still On

We’ve all done this after a long day. Once in a while, it’s not the end of the world. But making a habit of it clogs your pores, lets bacteria sit on your skin overnight, and speeds up how quickly your skin starts to show signs of aging. It’s one of those bad skincare habits that feels like a minor shortcut until it isn’t.

A better approach: Keep micellar water or cleansing wipes by your bed for the nights you’re too exhausted for a full routine. Even a lazy cleanse beats none at all.

6. Washing Your Face With Hot Water

There’s something comforting about a hot shower, and it’s easy to let that same water hit your face without a second thought. Unfortunately, it strips away your skin’s natural oils and weakens your moisture barrier, which leaves skin drier and more reactive over time.

A better approach: Lukewarm water is your friend here — it cleanses just as well without the damage.

7. Forgetting About Your Neck and Hands

Most routines stop right at the jawline, like the rest of the body doesn’t exist. But your neck, chest, and hands get just as much sun exposure — and they’re often the first places to show visible aging.

A better approach: Whatever moisturizer or sunscreen you’re putting on your face, extend it down to your neck and onto your hands too. It takes ten extra seconds.

8. Skipping Moisturizer Because Your Skin Is Oily

This one trips up a lot of people. The logic makes sense on the surface — oily or acne-prone skin doesn’t need more oil, right? Except skipping moisturizer often makes your skin overproduce oil to compensate, which just fuels the exact problem you’re trying to avoid.

A better approach: A lightweight, oil-free, non-comedogenic moisturizer still belongs in your routine, even if your skin already feels shiny by 2pm.

Woman applying moisturizer to prevent oily skin from overproducing oil

9. Picking at Pimples

Satisfying in the moment, genuinely bad for your skin. Picking increases inflammation, slows down healing, and raises your chances of scarring — sometimes turning a pimple that would’ve healed in a few days into a mark that lasts months. Out of all the mistakes that damage your skin, this is probably the easiest one to fix once you find a replacement habit.

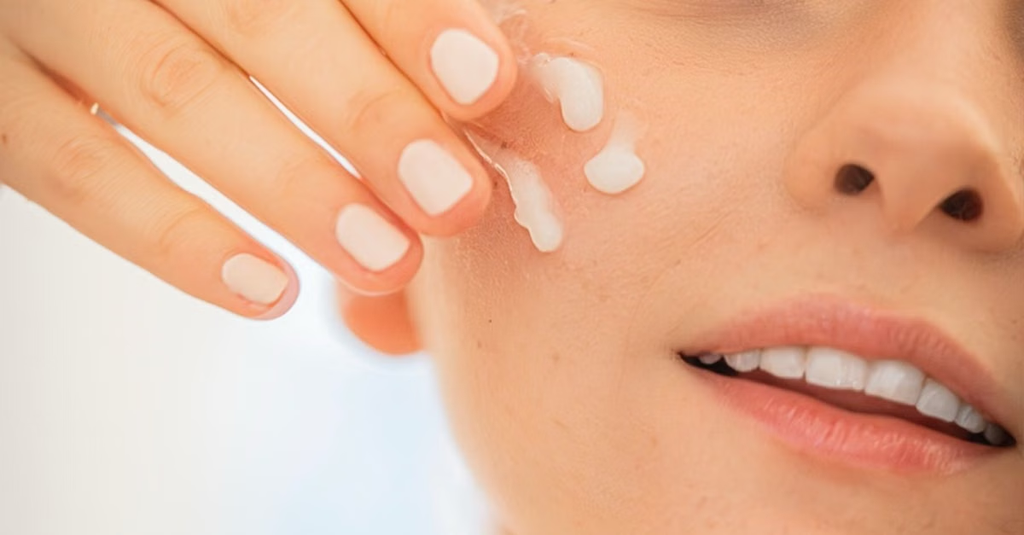
A better approach: Reach for a spot treatment or a hydrocolloid patch instead, and let it heal on its own timeline.

10. Never Updating Your Routine

Your skin isn’t static — it changes with the seasons, your age, your stress levels, even your diet. But a lot of people run the exact same routine year-round for years, then wonder why it stopped working as well as it used to.

A better approach: Every few months, take a step back and ask whether your routine still fits your skin. You might need something richer in winter, lighter in summer, or a different active altogether as your skin evolves.

The Quick Version

If you only remember a few things from this list: don’t over-exfoliate, never skip sunscreen, keep your routine simple, patch test new products, and stop picking at your skin. Those five alone will solve most of the common skincare mistakes people struggle with.

Final Thoughts

None of this requires a 12-step routine or expensive products. Most of these healthy skin tips come down to consistency and just… not doing the things that undo your progress. Start with one or two changes, give your skin a few weeks to adjust, and you’ll likely notice a difference before you know it.

Which of these were you guilty of? Be honest — we’ve all done at least one.

Categories
Skincare

10-Step Korean Skincare Routine for Beginners

Introduction

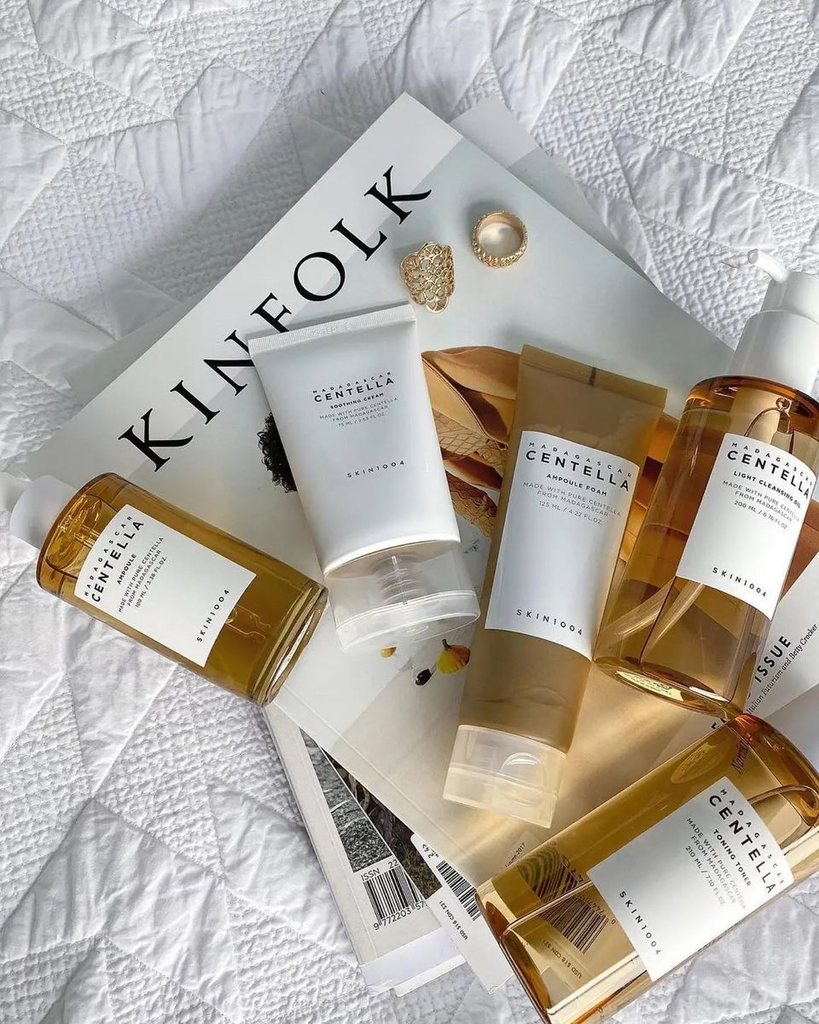
KIN1004 Madagascar Centella skincare set featuring ampoule, toner, soothing cream, and cleanser laid out on Kinfolk magazine.

Ever opened a K-beauty routine guide and immediately closed the tab because it looked like a 45-minute chore? You’re not alone. The “10-step Korean skincare routine” sounds intimidating, but here’s the secret: it’s a framework, not a rulebook.

Korean skincare (K-beauty) became a global phenomenon because it treats skin health as a long game — hydration, gentle care, and prevention rather than aggressive, one-and-done fixes. The result is that glassy, healthy “glass skin” look everyone talks about.

By the end of this guide, you’ll understand exactly what each of the 10 steps does, why it’s in the routine, and — most importantly — how to start with just 3-4 steps and build up from there. No pressure to buy ten products on day one.

What Makes Korean Skincare Different

Korean skincare philosophy is built on a few core ideas:

  • Hydration first. Almost every step is about layering moisture, not stripping it away.
  • Prevention over correction. The goal is to protect and maintain healthy skin rather than wait for problems and fix them aggressively.
  • Layering thin to thick. Products go on in order of texture — from watery to oily — so each layer can absorb properly instead of sitting on top and going nowhere.
  • Gentle, consistent care. Nothing in the routine is meant to be harsh. Consistency matters more than intensity.

Here’s the part beginners always miss: you don’t need to do all 10 steps every single day. Some steps (like exfoliating or sheet masks) are only for 1-3 times a week. Think of the “10 steps” as a full toolkit, not a daily checklist.

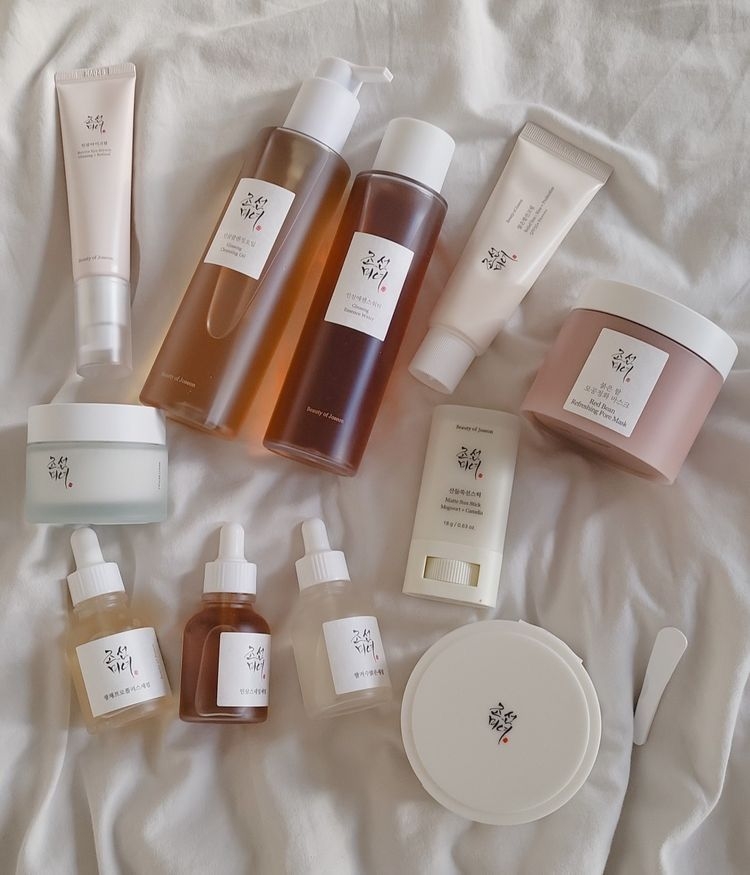
Beauty of Joseon skincare routine collection including serums, sunscreens, Ginseng Essence Water, and Red Bean Refreshing Pore Mask on white fabric.

The 10 Steps Explained

1. Oil Cleanser

Purpose: Dissolves makeup, sunscreen, and oil-based impurities. Why it matters: Water-based cleansers alone can’t fully break down oil and SPF, leaving residue that clogs pores. Product type: Cleansing oil or cleansing balm. Pro tip: Apply to dry skin and hands before adding water — it emulsifies better and won’t sting your eyes.

2. Water-Based Cleanser (Double Cleansing)

Purpose: Removes sweat, dirt, and any leftover residue from the oil cleanser. Why it matters: This is the step that actually cleans the skin itself, not just the surface layer of makeup/SPF. Product type: Gentle foaming or gel cleanser. Pro tip: Skip this in the morning if your skin is dry — a water rinse or gentle cleanser alone is often enough.

3. Exfoliator (1-2x/week, not daily)

Purpose: Removes dead skin cells so other products absorb better. Why it matters: Buildup of dead skin can cause dullness and clogged pores, but over-exfoliating damages your skin barrier. Product type: Chemical exfoliant (AHA/BHA) rather than harsh physical scrubs. Pro tip: More is not better here — this is the #1 step beginners overdo, leading to redness and sensitivity.

4. Toner

Purpose: Rebalances skin pH and preps skin to absorb the next layers. Why it matters: Korean toners are hydrating, not the harsh, drying alcohol toners of the past. Product type: Hydrating toner (look for ingredients like hyaluronic acid or centella asiatica). Pro tip: Pat it in with your hands instead of a cotton pad — you’ll waste less product and won’t tug at your skin.

5. Essence

Purpose: A lightweight, hydrating layer that boosts skin’s ability to absorb everything after it. Why it matters: This is the step most Western routines skip, but it’s considered the “heart” of K-beauty. Product type: Fermented or hydrating essence. Pro tip: A little goes a long way — pat, don’t rub, into the skin.

6. Serum / Ampoule

Purpose: Delivers a concentrated dose of active ingredients for a specific concern. Why it matters: This is where you target things like acne, dark spots, or fine lines. Product type: Depends on your concern — vitamin C (brightening), niacinamide (acne/oil control), hyaluronic acid (hydration). Pro tip: Pick one concern to start. Layering five different actives as a beginner is a recipe for irritation.

7. Sheet Mask (2-3x/week)

Purpose: Intense hydration and nutrient boost in one sitting. Why it matters: Sheet masks lock in moisture and are one of the most beginner-friendly, low-effort steps. Product type: Hydrating or brightening sheet masks. Pro tip: Don’t rinse off the leftover essence after removing the mask — pat it into your skin.

8. Eye Cream

Purpose: Targets the thinner, more delicate skin around the eyes. Why it matters: This area shows signs of dryness, fine lines, and puffiness earlier than the rest of the face. Product type: Lightweight eye cream with hydrating or caffeine-based ingredients. Pro tip: Use your ring finger to apply — it naturally applies the lightest pressure.

9. Moisturizer

Purpose: Seals in everything applied before it and reinforces the skin barrier. Why it matters: Without this step, all the hydration from previous layers can evaporate. Product type: Cream or gel-cream depending on your skin type (gel for oily, richer cream for dry). Pro tip: Don’t skip moisturizer even if you have oily skin — it’s a common myth that oily skin doesn’t need it.

10. Sunscreen (AM Only)

Purpose: Protects skin from UV damage, which causes premature aging and dark spots. Why it matters: This is arguably the most important step in the entire routine — and the most skipped by beginners. Product type: SPF 30-50, Korean sunscreens are known for lightweight, non-greasy formulas. Pro tip: Apply generously (most people use far too little) and reapply every 2-3 hours if you’re outdoors.

Morning vs Night Routine Breakdown

StepMorning (AM)Night (PM)
Oil CleanserOptional
Water-Based CleanserOptional (or water rinse)
Exfoliator✅ (1-2x/week only)
Toner
Essence
Serum/Ampoule✅ (lighter, e.g. vitamin C)✅ (treatment-focused)
Sheet Mask✅ (2-3x/week only)
Eye Cream
Moisturizer
Sunscreen✅ (non-negotiable)

Beginner Tips

  • Start small. Begin with cleanser, moisturizer, and sunscreen. Add one new step every 1-2 weeks.
  • Patch test everything. Apply new products to your inner arm or jawline for a couple of days before full-face use.
  • Consistency beats quantity. A simple 4-step routine done daily beats a 10-step routine done twice a month.
  • Budget-friendly first. Try affordable K-beauty brands before investing in premium products — many drugstore K-beauty lines perform excellently.

Common Mistakes to Avoid

  • Skipping sunscreen. This undoes the benefit of every other step in the routine.
  • Over-exfoliating. Daily exfoliation damages your skin barrier and causes more problems than it solves.
  • Introducing too many new products at once. If your skin reacts badly, you won’t know which product caused it.